Showing posts with label Functional Assemblage Art. Show all posts

Saturday, May 25, 2013

Free Easy DIY Earring Display Idea


 I don't like my favorite assemblage jewelry to hide in a box, so I made something simple to display my assemblage earrings that is easy to make, and makes each pair easy to see and enjoy, wear and replace.

What I did~
I added small eye screws from a picture hanging kit to an antique rubber carriage wheel. The rubber is very hard, but very easy to screw into. I used a saw tooth picture hanging bracket for the back. Just nail it right into the hard rubber.
I also used a chemical called "Novacan Black" to make the bright metal of the eye screws look dark and aged.
I did something a bit differently in another post here,  
to display my favorite necklaces with a large antique tricycle wheel.
Hope this inspires you! I love to display my artful collection of earrings. Earrings pictured clockwise from the top are Sacred Cake,  Age Before Beauty, Sacred Cake Fanciful Devices, and Read Between the Lines.


I've even found some for you! just follow these leads by clicking on the photo:


Sunday, March 04, 2012

Shabby Chic Jewelry Storage and Display Idea

I guess because I make so much assemblage jewelry and collect quite a few different pieces and styles, I like to look at my treasures...I like to have them out so that at any time I walk by them in my bedroom I can gently brush the tips of my fingers along the bits and baubles...thinking of every sweet soul that created those bits of beauty from their deepest heart.

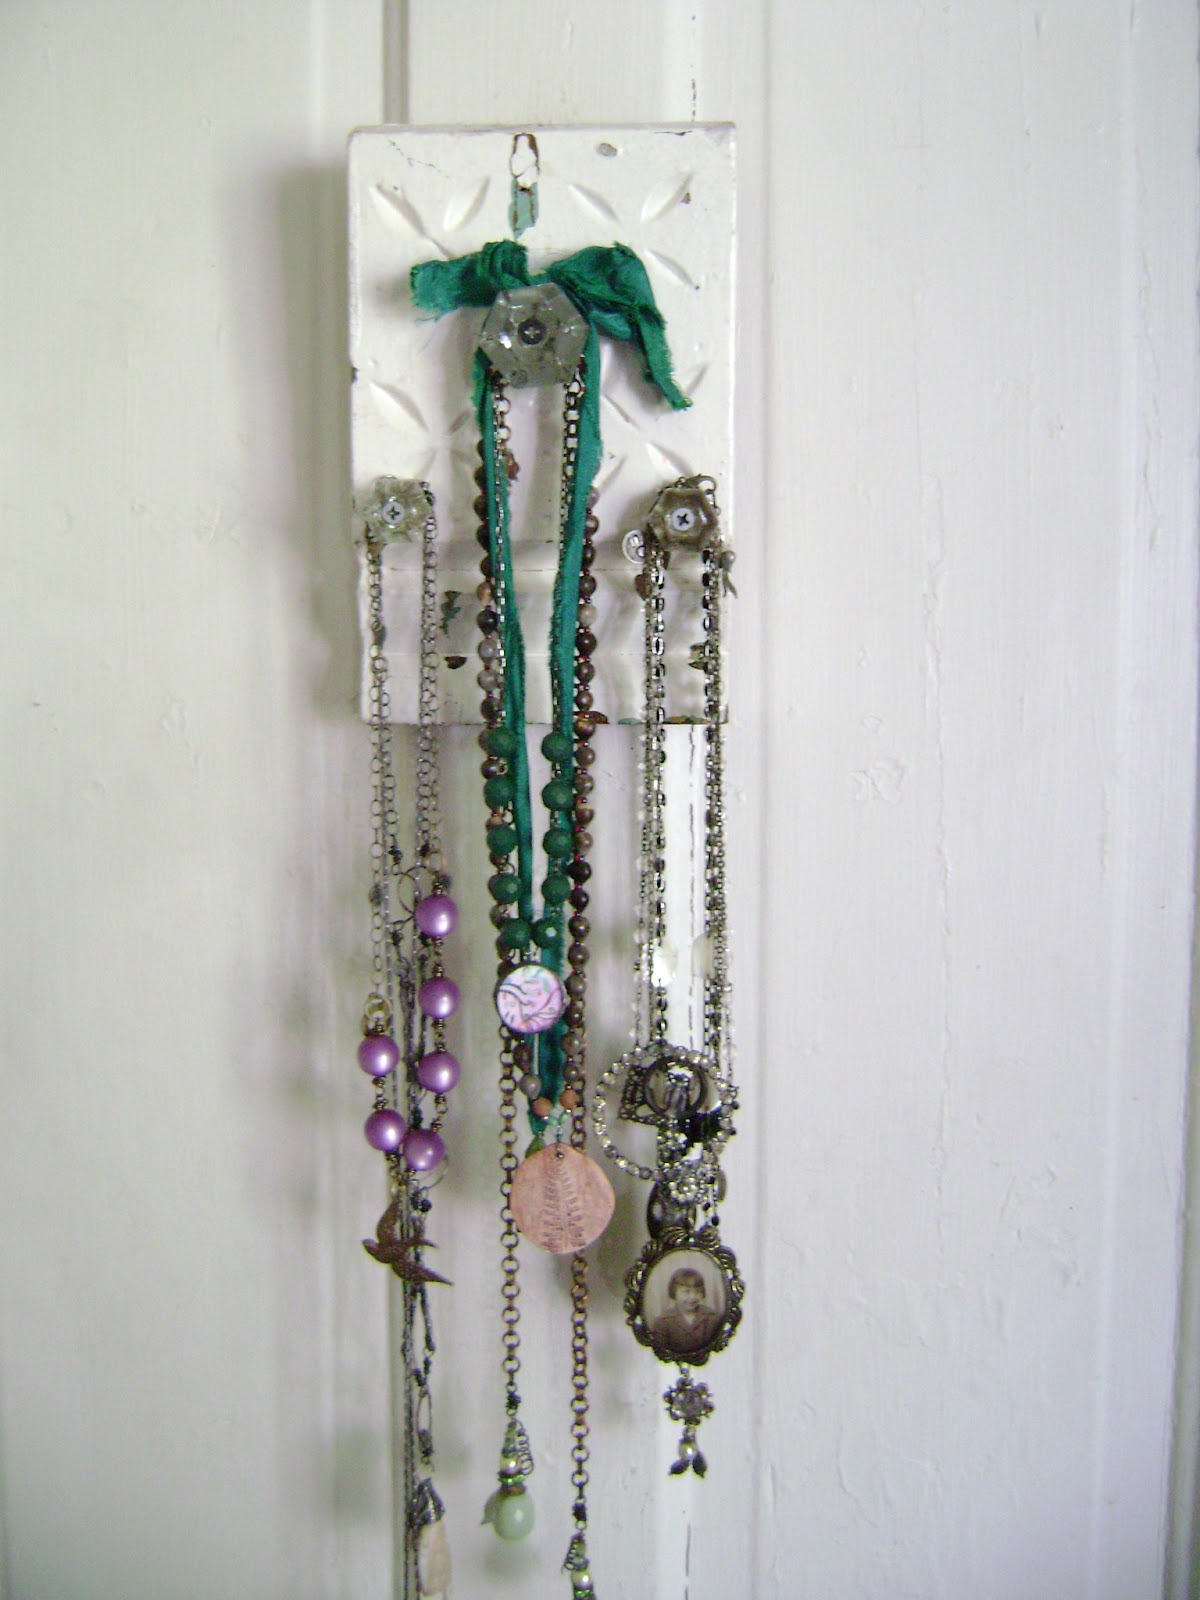
My wheel of goodness and joyful reminders of all of the dear people I've met along the way. So simple to make, and easy to use. I've been wanting to share this project with you forever. I clip earrings on the spokes and hang them on the hooks. This is also great for cuffs and rings.
This project is sooooo simple! I think finding the old carriage wheel might be the hardest part. I just happened upon it while out and about several years ago. I didn't know at the time what it would be. I just knew it would be useful and fun. Try looking on ebay, etsy, artfire, craigslist, or even call around to the old junk malls and antique stores.Once you find your old wheel, be sure it is the kind with the solid kind of tire, so your hooks stay in. Screw some larger than average sized cup hooks into the wheel at evenly spaced intervals. I dipped mine into a chemical called  "Novacan Black" to darken them a bit. And that's about it! I embellished the center part with a hunk of filigree and an old vintage brooch. Use E-6000 glue to glue anything on. Just sand each surface a bit before adhering, because most likely your surfaces will be rusty and such.

In case you were wondering who made some of the lovely pieces on my wheel, here is a little list of designers that I hope you will visit! They are all so talented and such sweet spirits.

* Colorful wire wrapped necklaces and birdy earrings are from dear Liz. Visit her shop here:
* Shabby tribal earrings and various necklaces with buttons and bits are made my Marina. Visit her shop here: www.fancifuldevices.etsy.com
* Sweet  round broken china pink floral pin by sweet Lana, who makes the sweetest Marie Antoinette inspired things here: www.fionaandthefig.etsy.com
*  Gorgeous pottery earrings by Michelle right here: www.mudluscious01.etsy.com
*  Favorite Queen Anne's Lace embroidered pendant necklace (not pictured because I was wearing it) made by dear heart Corrine at www.SeptemberHouse.etsy.com 
* Amazing leather, sterling and cross "faith" necklace by beautiful Nina right here: www.ninabagley.etsy.com
* Large flower necklace, a gift from my daughter years ago.
* Super long antique hand knotted beaded jet necklace, a lucky find. (and a big fave)
*  Pale celluloid earrings, and long pale blue pearl and crystal earrings are by yours truly. You can find me here: www.sacredcake.etsy.com

My wheel has gotten a bit messy now that I'm really lookin' at it! I hope this project gets your creative wheels spinning...
Think of the possibilities to use this idea for an old hunk of wood or cutting board, vintage cane, mirror frame...anything that can hold a cup hook!

AND as always, you can write me with any questions right here:
sacred_cake {at} yahoo [dot] com

Many Blessings to You and Yours,
Jennifer Valentine of Sacred Cake

Thursday, December 15, 2011

Assemblage Jewelry Angel Ornaments, a nifty holiday project idea

I had an order for quite a few ornaments recently and wanted to share some of them with you. It is a fairly simple project, that will hopefully stir your imagination as well!

What you will need:
large vintage filigree piece
photograph of a small face for the center
some clear plastic or celophane to cover the center
vintage jewelry parts and pieces
old buttons
old chandelier crystal (also found on ebay or etsy.com)
e-6000 glue (found at walmart, online, or at a craft store)
aged ribbon or seam binding
diamond glaze
sheet music or decorative paper

each one with crinkled aged seam binding ribbon hanger
each have different vintage chandelier crystal dangles
sweet little vintage boy angel ornament
Directions:
Cut the angel's face a bit larger than the hole in the filigree, along with a piece of mica, or plastic. I used a piece of old yellowed plastic on some and a piece of Mica on the others. Glue the circle of Mica on to the back of the filigree by beading a little glue around the opening. Place the plastic disc over the opening and clamp the edges with small clamps or press under a book. Be sure to put a piece of plastic, like a ziploc bag between the ornament and the book, so the book doesn't stick to your ornament.
Working with one ornament at a time, coat the plastic on the back with a coat of diamond glaze and firmly press the photo onto the plastic. Press out any air bubbles. Don't worry, imperfection is part of the charm!
Now, turn your angel over and add your embellishments. I used vintage jewelry parts and pieces, antique mother of pearl buttons and seam binding ribbon that I aged myself with walnut ink. Be sure to wear safety glasses when removing the backs from old jewelry.
E-6000 glue is self leveling, so the backs of your vintage parts do not have to be completely flat, though it helps to sand them down as flat as possible. I use a dremel tool, but a basic metal file works well too.
For the backs of the ornament, I glued on a square of scalloped vintage sheet music to cover.
antique little girl's face ornament
If you don't want to cut an old photo, just make a copy of it on your computer, like I did. I used three different sweet little faces for my angels. You can even make these with photographs of your own children or ancestors...these are too cute to store away after Christmas! They make very cute decor wherever you need a bit of cheer and sparkle!
***If you'd like me to create one for you, just leave a comment with your email address (it will absolutely not be published), and how many you'd like. The price is 18.00 each plus 3.00 to ship, and will be billed to you by my business Paypal account through the email address you provide. I can most certainly make these with any photograph you'd like, or the ones I have shown here. Each one will be one of a kind!
antique angel baby ornament
Stay tuned for more holiday projects!
Blessings and Light,
Jennifer Valentine of Sacred Cake


Saturday, November 20, 2010

Tin Toy Ornament Ideas

I have a fondness for old toys. The more beat up, the better! I like to think of the many lives they have had and the little hands that played with them and loved them....
Though I bought them with assemblage in mind, I decided to make ornaments with them this year, using vintage crystals and some wire....pretty simple to do. And fast. That's a real plus when life goes by at the speed of light as mine does! I know now why some folks (like me this year), put their trees up in November. I want to make Christmas last as long as humanly possible. Having an amazing artificial tree (thanks mom) that we've had for many years makes that possible! I love white lights, glass icicles, vintage chandelier crystals and old toys on the tree. I'd love to have antique and vintage photographs on the tree, but we are having trouble keeping the kittens out of it. I don't worry about the glass ornaments because I actually wire them onto the branches! Ah, well....we really get such joy from our animals!
Vintage Blue Willow Child's Tea Pot Ornament

Simple directions for the ornaments:
Drill small holes in the top and bottom of the plate and add wire and crystal as desired....for the tea pot, just insert a small dowel into the spout and drill a small hole to insert the wire and crystal.
I have more ideas for ornaments, so check back again soon!
Oh, yes, I also tie vintage toy guns, from my husband's collection,onto the tree with antique lace. I guess because a many decades ago, they would put presents on the tree...reminds me of simpler times, you know?
Vintage toy Derringer


Vintage Tin Toy Ornaments

Tuesday, November 16, 2010

New Old Things...

I've got some new things in the Etsy shop...I'm wishing I could stay at my little old shabby desk all day and create...want to make more of these assemblage mirror pieces too...I have a little show of sorts coming up. A meet and greet at a new shop in Coloma and I am very excited! Pictures will describe what I can not, so come back again soon, ok?

Wednesday, July 28, 2010

Assemblage Necklace Display Project Idea (easy and fun!)

I thought I'd share a little project with you today. It is a necklace holder/display created with vintage glass knobs and a hunk of antique door frame. I really love it...
It is a very simple project!

Materials:
1 Hunk of old wood
Several vintage glass knobs
Wood screws that fit the size of the knob and long enough to screw at least 1/2" into the wood
Picture hanging hardware (or two screws and some wire) 
Screwdriver

Directions:
Decide how you want your necklaces to hang on the hunk of old wood. Screw the knobs on, taking care not to screw down the screws too tight and crack the glass. Nail on the hanging hardware. Hang on wall. Display your favorite necklaces.
This project could have hundreds of creative variations!

Assemblage Necklace Display

Necklaces from some of my favorite Etsians

Wednesday, June 30, 2010

What Would You do if You Knew You Couldn't Fail? (leave a comment for my GIVEAWAY!)

Today I am celebrating the official release of the summer issue of Somerset Life, and the article I wrote to be included with my artwork...

It had been awhile since I've written for publication, and I was hesitant about the work I had to offer, but I decided to take a chance. These words came to mind, "What would you do if you knew you wouldn't fail?" and so I asked the editor, dear Christen, if she would be interested..and she said YES! I never thought my humble decorated vintage oil can photograph displays would ever make it "out there", and I am so grateful to her for giving me the opportunity to be published.
I have always loved the idea of functional art. The oil can idea came to me last year as I was thinking of Christmas presents to give to my sister Kelly Rae and her husband and the old oil cans I had on the shelves in my studio came to mind. I was so excited about my new idea that I had to pull my car over to record it into my phone and make a little sketch...

I've been busy making more Sentinels and Oil Can Photograph holders for my shop, Sacred Cake, but I've only one set posted so far. You can see them here. Look for more coming very very soon!