
| I've been busy making some of my favorite things for the online shop....using everyday kinds of objects and elevating them to little functional assemblage art pieces. I get the inspiration from the curls of wire that I use, from one of my favorite artists, Brian Andreas. |  |
 |
étincelle |
This is a bit time consuming, but fairly straightforward.
Here are the things you will need:
sturdy wire, 20 gauge steel is best (check your local hardware store)
two part epoxy resin
small paper cups
wooden or plastic sticks for stirring
vintage pins or earrings
metal file or Dremel tool with sanding bit
wire cutters
paper for protecting your surface
paper towels
safety glasses
painters tape (blue)
e-6000 glue
Directions:
First, clean and dry your shakers. Set them on the protective paper on a sturdy, flat surface. Keep the lids off, but set them next to the matching shaker. Put on your safety glasses.
Cut lengths of the wire about 2 1/2" feet long. Curl one end around your finger a bit to shape it and stick the wire down into the shaker bottom. Do this for each one you want to make. To keep from poking your eyes, curl the top tips a bit to round them out.
If you want two curls coming from the top, like mine, use two strands of wire, or make a "V" shape and stick it down in there.
Next, mix about 1/4 of a cup of the resin in the paper cup, stirring with the stick until completely blended. No need to measure perfectly to make 1/4C. Just be sure to add equal amounts of resin into the cup. It usually comes in squeeze bottles, so hold the bottles over your cup in each hand and squeeze them together in unison and it will be right enough for this project! (because no one will see it if it gets bubbly and imperfect.)(It's ok)(Really. It is.)(It will get hard enough to work fine.)(Trust yourself.)
OK, this part is where you have to work quickly. After you have mixed your resin, squeeze your cup a bit to make a pour spout shape at the top that will fit into the top of the shaker. Small enough to pour the resin into the shaker. This can ba a bit tricky if you have a shaker with a narrow top opening! Especially if you already have wire sticking out of the opening. The trick though, is to cover the bottom of the shaker AND the wire in it, so that it will be sturdy when the resin hardens around it.
If you get resin on the shaker, just wipe it off with a paper towel as soon as possible.
Now, slide the shaker top on to the wires, threading it through the holes you want them to go through. Twist on the cap.

Curl the wire, beginning with a small curl, then work your way outward to form a spiral. Now to decorate, be sure to put on your safety glasses, and remove the backs from the pins and earrings with your wire cutters. File the backs down roughly with your file or Dremel tool. Hold them up to the shakers to see where you'd like them to be placed. File that spot on the shaker a bit to roughen it up. Lay it down and put a dot of glue on the roughened area of your pin or earring or whathaveyou. Wait about 30 seconds, then place your vintage element on the roughened spot on the shaker. Use a piece of painters tape over it to hold it in place and set overnight, or wait several hours for the glue to semi-set before adding more pieces on top of that one. The tape peels right off when you're finished.
Whew! We're done!
Please feel free to contact me with any questions. I'm very approachable! Ask me anything. Just leave a comment here with your email address so I can answer. Anonymous is just fine. No hoop jumping allowed here. No letters to decipher and punch in to leave a comment.
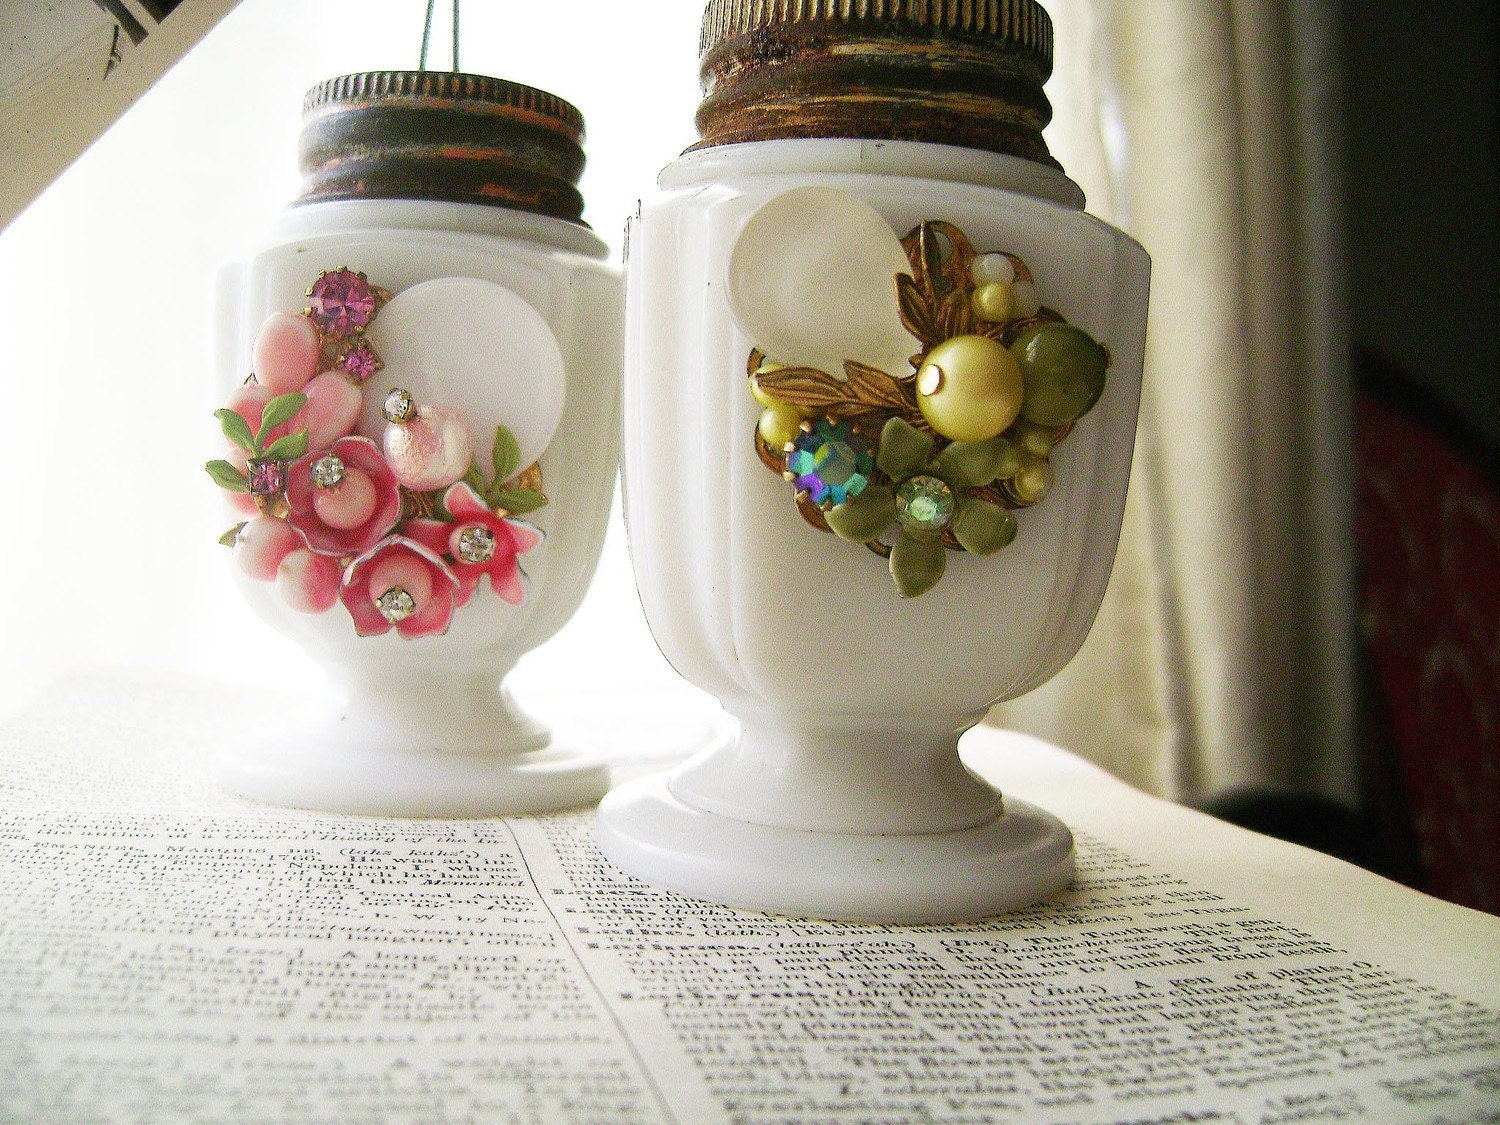 |
| milk glass shakers with vintage earrings! |
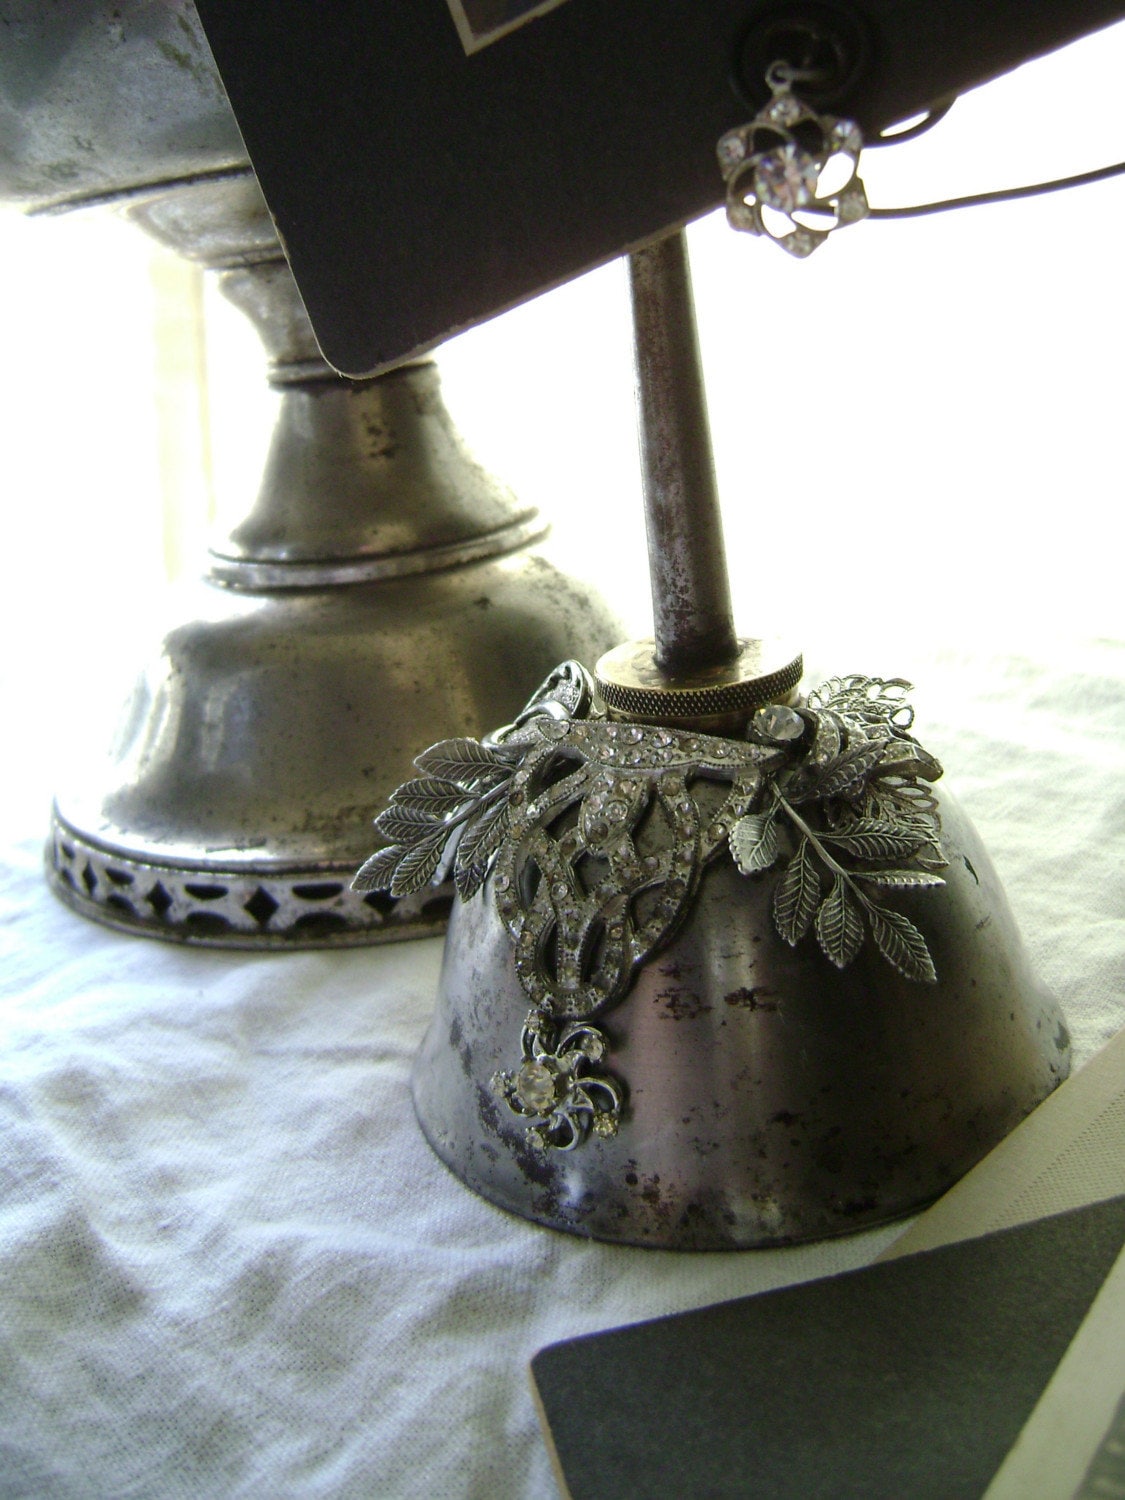 |
| an example of an oil can holder I made |
If you don't think you want to fuss with all of those directions, then you can purchase some of these pieces from my etsy shop! I can also do custom orders for weddings. These would make great place holders or displays for any shabby chic wedding. Speaking of weddings, here is a recent shabby bridal comb I've got in the shop right now.
 |
| Delight |
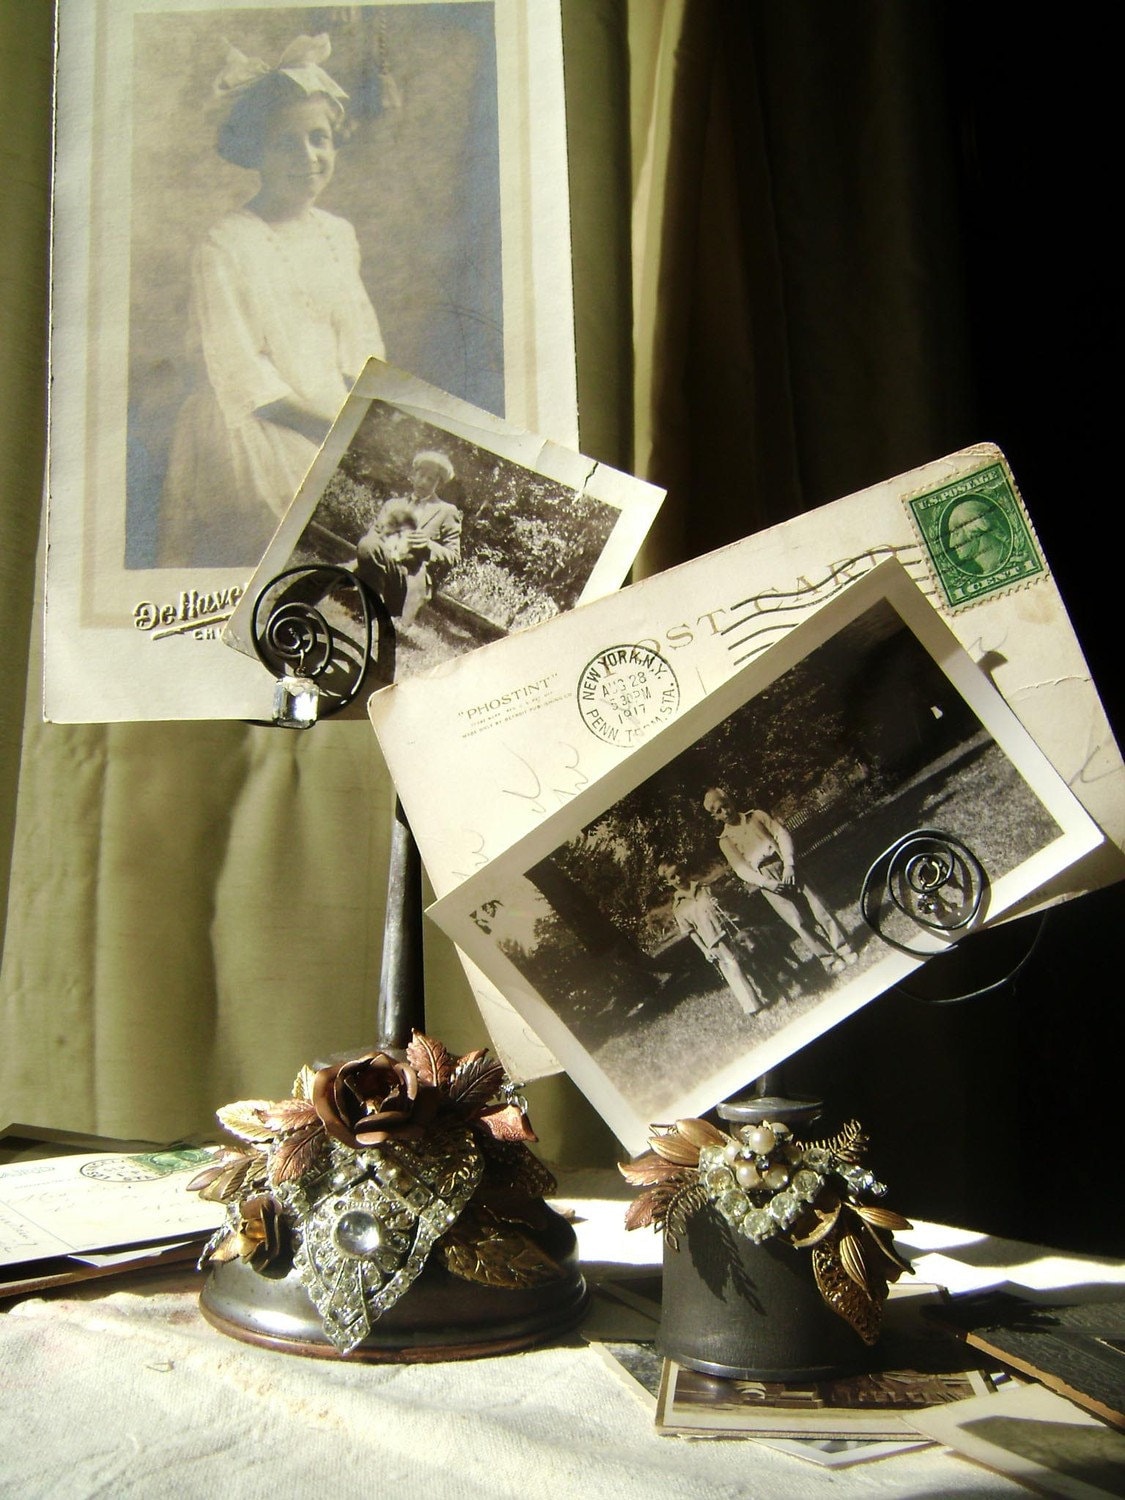 |
| oil cans featured in Somerset Life 2010 |
I hope you have fun with this project and it sparks your creativity!
Blessings and Light to You All,
Jennifer Valentine of Sacred Cake
just beautiful...as always! xo
ReplyDeleteGreat tutorial Jennifer...I love that you shared this with us. And as you said, if you don't want all the "bother" you'll make lots more for us to purchase!! :)
ReplyDeletethese are so beautiful! what a great use for old shakers. thanks for sharing!
ReplyDelete